Activating the Presentation
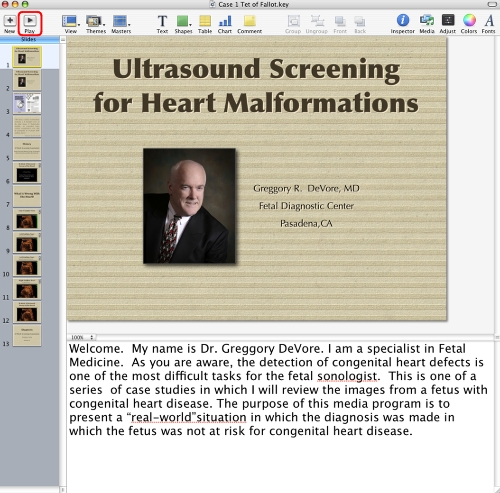
After the presentation has been created, these next slides will demonstrate how to record the audio and video presentation to prepare a Quicktime movie that will be used to create the final PODCAST video.
Click the PLAY button in the upper left to launch the presentation.
Recording the Screen Video and Audio
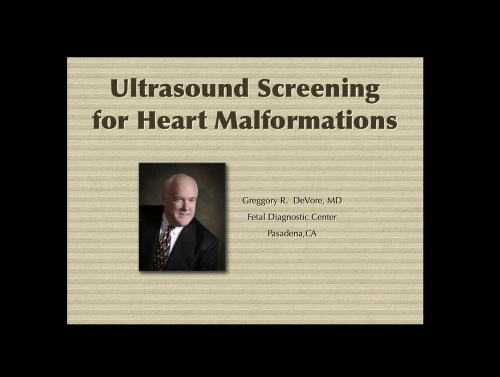
This is the screen. The first slide of the presentation is duplicated. The first of the two slides does not have audio. Once the recording of the screen is initiated, see below, then the mouse button is clicked to begin the presentation. The next slide that appears is the "first" slide of the presentation, however, it includes the audio. As the presentation is playing, you click the mouse button to change slides, or to activate overlays, appearance of text, or graphics, etc. As you are doing this, the full screen will be recorded (see below).
Snapz Pro X
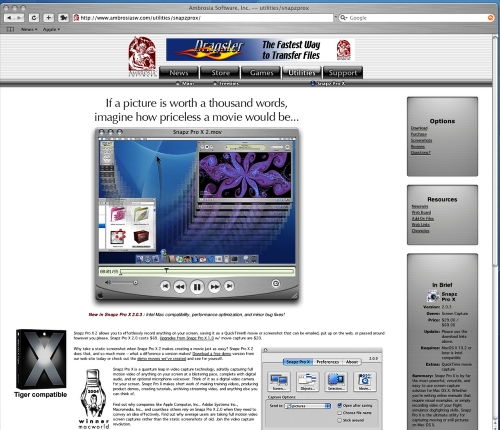
The program that I use to capture the screen audio and video is Snapz Pro X. This can be found at http://www.ambrosiasw.com/utilities/snapzprox/.
The cost of the program is $69.00.
Recording the Video and Audio of the Screen
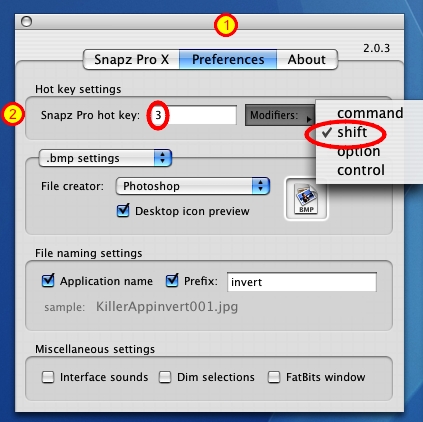
Snapz Pro X is a program that records the video and audio of what is on the screen. FIrst, I have chosen to use a HOTKEY to activate the MOVIE recording. To accomplish this, select the PREFERENCES tab (1) and then select a HOT KEY (2). In this example, I have selected SHIFT+3 as the HOTKEY to start and stop the recording process.
Recording the Video and Audio of the Screen
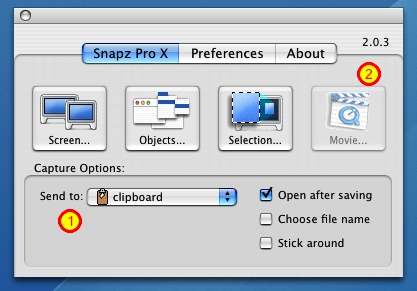
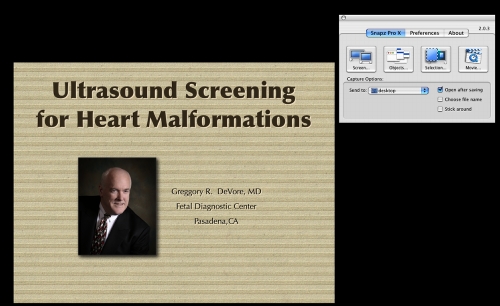
As mentioned, I have configured the program to launch when I click Shift+3. This menu then appears. The default might be this screen which has the default of the SEND TO CLIPBOARD (1) . Before I can activeate the movie capture (2) , I must change the SEND TO to DESKTOP (1).
Recording the Video and Audio of the Screen
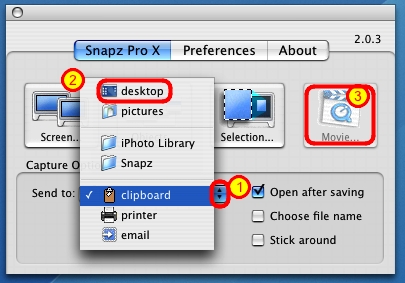
Clicking the drop down arrow (1) this appears. The user then selects Desktop (2). When this is done the MOVIE button is activated (3).
Recording the Video and Audio of the Screen
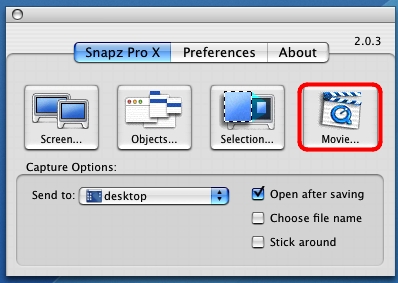
To activate the movie recording, the user selects the MOVIE button.
Recording the Video and Audio of the Screen
This illustrates the above window on the full screen of the computer.
Recording the Video and Audio of the Screen
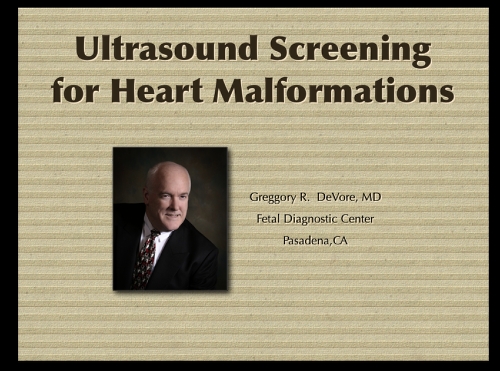
Once the MOVIE button is clicked, this menu appears on the screen. Lets examine this menu more closely.
Recording the Video and Audio of the Screen
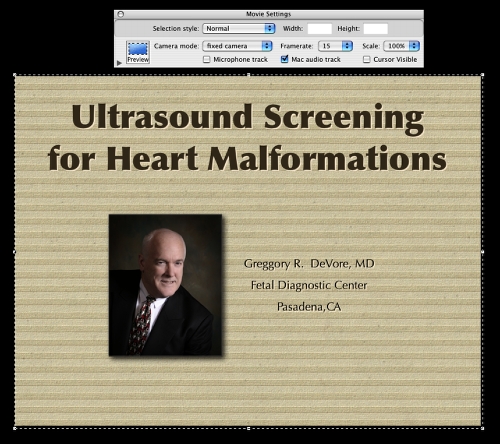
Before recording begins, you can change several parameters. You can see that I have selected MAC AUDIO TRACK (1). This will record the audio that is playing through the headphones. If I wanted to record while the movie was playing, I would check MICROPHONE TRACK (2). If I wanted to have the cursor visible, then I would check the CURSOR VISIBLE box (3).

Recording the Video and Audio of the Screen
A box will appear on the screen. You will then drag the box over the area on the screen that you wish to record. In this example, the box is drawn over the image, which is 800 x 600 pixels. Once the mouse button is clicked, the recording stops. At the the completion of the recording click the ESC button on the keyboard or SHIFT+3. (Shift+3) is a present for the program that I have selected to start and stop the recording.
Recording the Video and Audio of the Screen
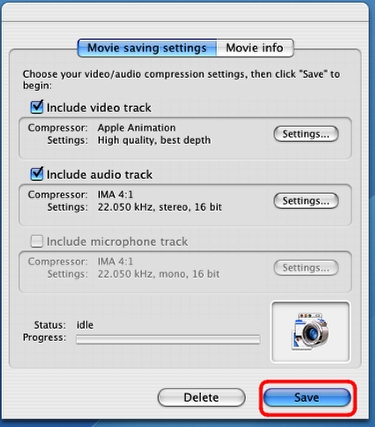
When the recording has stopped, this will appear on the screen. Click SAVE to save the recording as a QUICKTIME movie.
